
how I start, finish and transfer my embroidery pieces
- laura gushue
- Oct 25, 2021
- 2 min read
Hi embroidery lovers! This post might seem too obvious for some - but I see a lot of beginners who make little mistakes or are generally confused about how to start and finish an embroidery piece. So I'm going to show you exactly what I do - including how I transfer my designs to fabric!

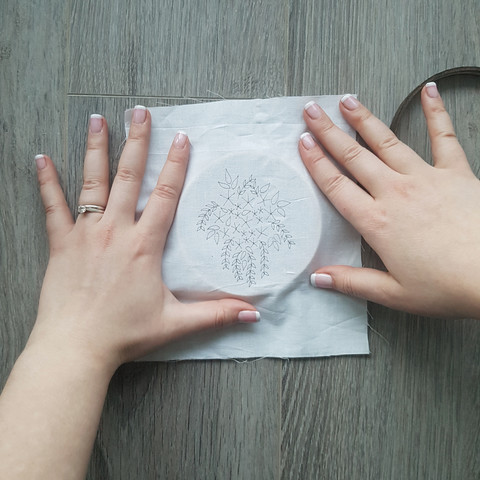
Getting your hoop ready:
This might seem really obvious - unscrew the hoop, place the fabric over the inner hoop, and secure the outer hoop around it. Although it is a very simple technique, here are a few tips to perfect this method that will affect how your entire piece ends up.
-only unscrew the hoop just enough to get it off/on - if you unscrew it too much, it's impossible to get the fabric as tight as you need it to be as when you screw it back on it will bunch the fabric.
-you want the fabric to be quite taught, with no sagging, bunching, or stretch lines. It should resemble a canvas when stretched enough.
-tug at the edges of the fabric to make it more taught. You can't pull too much like this, but it's great for touching up the fabric if you're getting slight bunching. You can also do this as you're embroidering if the fabric becomes slightly warped.


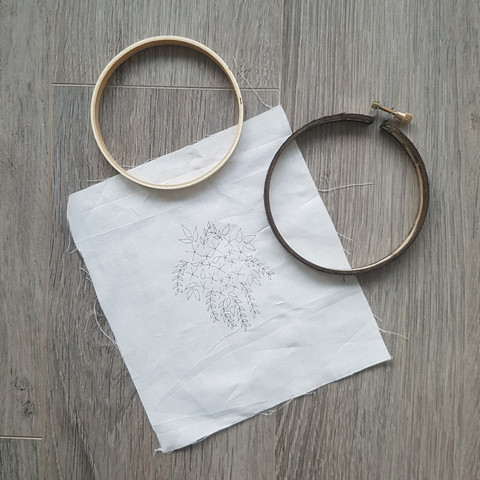
Transferring your pattern:
This does depend on which fabric you're using, but if you use white cotton like I do then this method will work fine. First, either draw or print out your design. If you're drawing, I would recommend outlining your design with a thicker dark pen to make it easier to see through the fabric. Next, tape your fabric centered over the design, and trace it with a thin pen. If you still can't see very well, you can hold your paper up to a window as a makeshift lightbox! Don't forget to test the bleed of your pen on an edge of your fabric first. You can also buy heat erasable pens for embroidery, but I've never tried them.


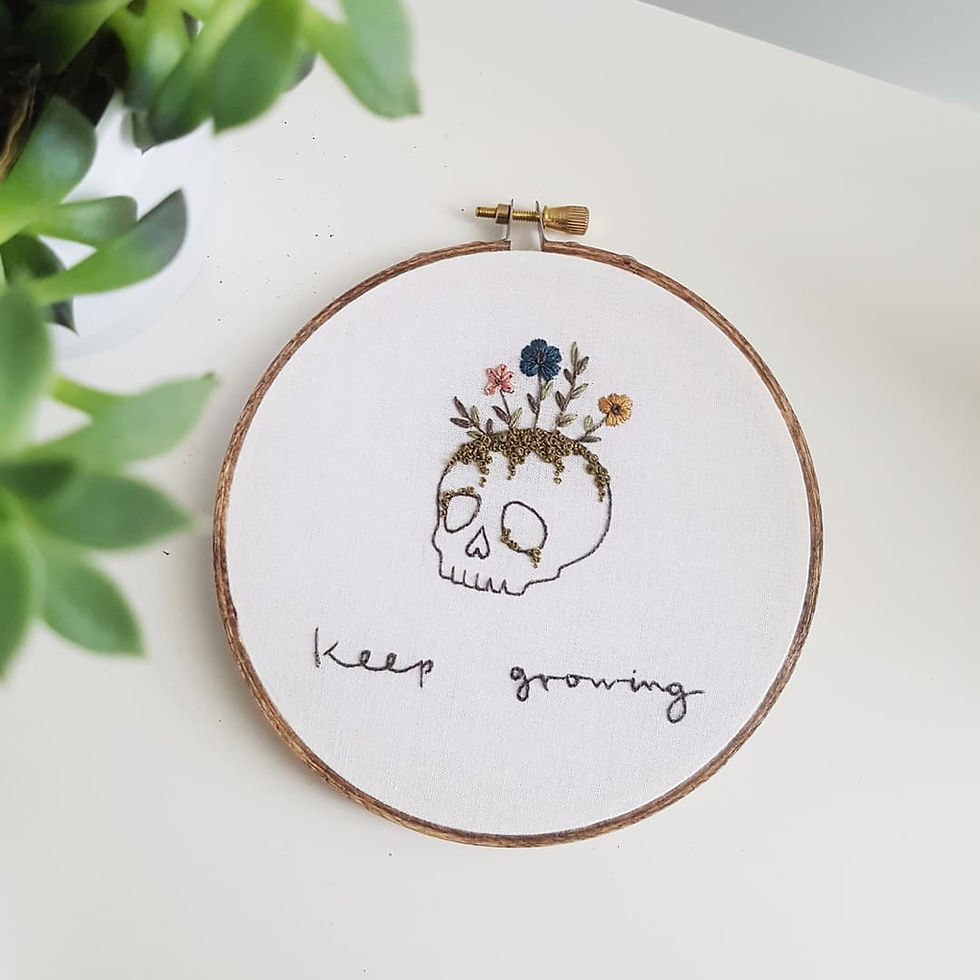
Finishing your hoop:
To finish your hoop, cut a small border of fabric. Start a running stitch (just in and out along the edge) that goes all the way around your hoop. I like to overlap my stitches at the end for a little bit of added stability. Pull both ends tight to cinch in the fabric and tie a knot to finish it.
There are many other ways to finish a hoop, but this is the easiest and quickest. If you're wanting to look a little more finished or professional, you could sew on a circle of fabric or glue on a circle of cardstock.


Voila!! You have a finished embroidery piece that is ready to display. Thanks so much for your interest in embroidery and my work! If you have any ideas or requests for future blog posts, let me know!
Please feel free to send me an email at laura@throughrainorshine.ca if you have any questions or comments. Happy Stitching!!
Want to stay informed on blog posts, tutorials, and information?
Sign up as a member to be notified about new posts! Next week I'll be sharing all about how to make the perfect French knot.


Comments